Homework Seven (retake)
Due 2025-05-02 at 11:59p
Submit on GradescopeThis is your second shot at the problems from Homework Seven. If you missed any of the problems, you are strongly advised to try again. Your goal is to complete (Satisfactory or Excellent) up to four problem across Homework Seven and this set, but you are encouraged to do more – especially if you were challenged by the first set of problems. Remember that we evaluate each problem individually, so there are no issues if you only do a subset of the problems (including none).
Objectives
- Demonstrate your ability to create images from a grid of pixels
- Demonstrate your ability to modify images
- Demonstrate your ability to work with two-dimensional data and nested loops
Getting started
For this assignment, we have another four functions for you to write. Please pay attention to all of these instructions. Even this front matter, which may look the same (and many of you skip over) has changed.
For this assignment, there is no starter code – so create a new file called homework07r.py for your work.
Feel free to work through the functions in any order. Whatever order you use, we suggest that you take the time to test each one as you go rather than trying to write all four out like they were part of an essay and then testing at the very end. Treat these are four totally separate and distinct problems (which they are).
Submit your solution on Gradescope using the button above. Feel free to resubmit as your complete each problem to check your progress. To repeat – you only need to submit homework07r.py.
Images
All of these problems deal with images. Make sure you have read through Working with Images and have the midd_media package installed.
Python subset
For this assignment, we have not placed any restrictions on what you may use.
Satisfactory vs. Excellence
A solution for these questions that is excellent will have the all of the following qualities
Style
An excellent function will have a docstring that is formatted in the way shown in the lectures. It should include:
- the purpose of the function
- the type and purpose of each parameter (if any)
- the type and meaning of the output (if any)
In addition, you should follow some of the PEP8 guidelines on whitespace. The ones we will be looking at are:
- no whitespace between names and
(or[(e.g.,f (5)should bef(5)ands [3:5]should bes[3:5]) - there should be a single space around operators (e.g.,
x=4+1should bex = 4 + 1andy = 3 -2should bey = 3 - 2) - there should be a space after commas, but not before (e.g.,
f(4 , 5)orf(4,5)should bef(4, 5))
Special cases and requirements
For some of the problems, we have identified special cases or requirements that we have deemed potentially more challenging and not essential to a satisfactory solution. An excellent solution will cover all cases. These cases will be identified in the autograder by tests with * at the end of the title (so make sure you submit frequently as you are working).
Problem 1: Posterize
Write a function called posterize that takes in an image (img) and a list of colors (palette) and returns a posterized version of img.
The idea with posterizing is that you reduce the number of colors used in the image down to a small handful. Some famous examples include Andy Wharhol’s numerous silkscreen images of people like Marilyn Monroe or the Obama “Hope” poster created by Shepard Fairley. In those cases, the look comes from the selection of a few inks during the silkscreening process, but we can make our own version by just restricting our palette.
As artists, we might be very thoughtful about exactly where each color is used, however, for our version we will just do straight replacement based on the luminance value of the pixel. You should map the full range of luminance values to the colors in the provided palette, distributing the range as evenly across the palette as you can (the simplest approach is likely to be the best approach).
Experiment with a range of different colors. There are a variety of different tools out there to help yuo pick interesting color palettes that work together, like coolors and Adobe Color.
posterize
|
|||||
|---|---|---|---|---|---|
| Parameters |
|
||||
| Return type | middimage.Image | ||||
Examples
Originals
Full color Pixel image
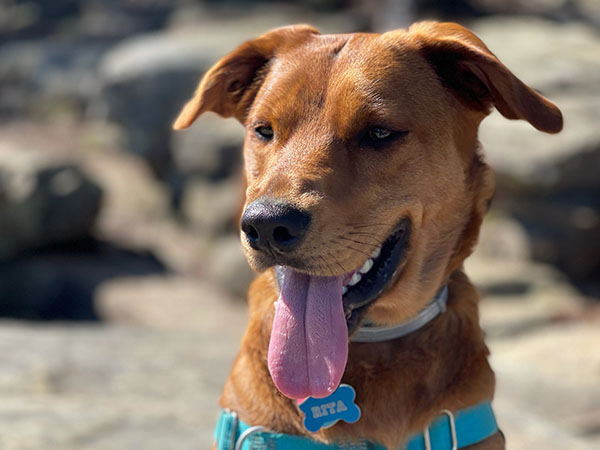
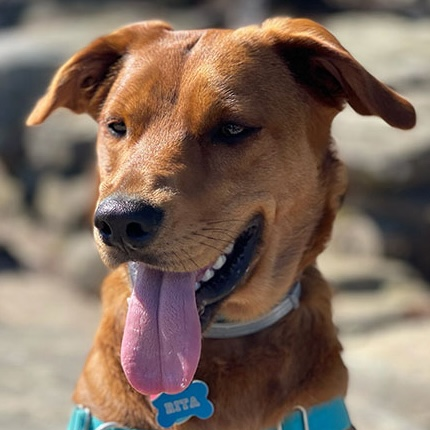
Full color Rita image
>>> pixel_color = middimage.open("pixel_color.png")
>>> posterize(pixel_color, [(0,0,0), (255,255,255)])![]()
rita = middimage.open("rita.jpg")
>>> posterize(rita, [(244,58,21), (255,98,31), (241,145,67), (255,200,112), (253,227,175) ])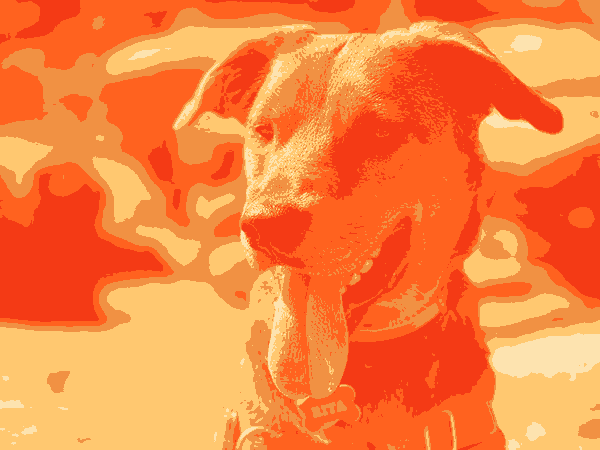
>>> pixel_color = middimage.open("pixel_color.png")
>>> posterize(pixel_color, [(0,49,79), (187,21,27), (114,151,160), (215,210,170), (255,230,170), (255,255,255)])![]()
Problem 2: Duotone
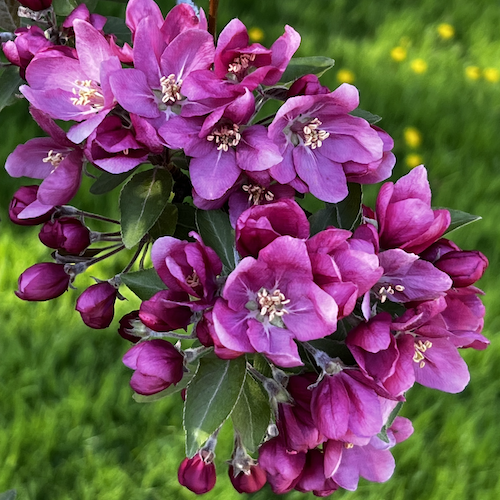
Write a function called duotone that takes in a MiddImage img, a hex shadow_color and a hex highlight_color as input and returns a new MiddImage. The new image should be the original image with a duotone filter applied. Creating a duotone filter has some similarity with functions you’ve already created, like greyscale, sepia, and even the gradient and radial_gradient functions.
For each pixel, you’ll compute a luminance value; once you do so, pixels with a luminance of 0 should be mapped to your shadow_color and pixels with a luminance of 1 should be mapped to your highlight_color. Pixels with a luminance between 0 and 1 should be colored using a gradient between the shadow_color and highlight_color. For example, imagine the RGB values for your shadow_color are (0, 0, 0) and the RGB values for your highlight_color are (10, 20, 30). If the luminance is 0.5, the pixel value should be set to (5, 10, 15).
You’ll note that the colors are passed in as hex values; an excellent solution will define a function convert_hex that is used to convert from hex to RGB, so that you do not have to duplicate code to process the two hex colors.
duotone
|
|||||||
|---|---|---|---|---|---|---|---|
| Parameters |
|
||||||
| Return type |
middimage.Image
|
||||||
Examples
The examples are all based on this photo of Rita on the water. 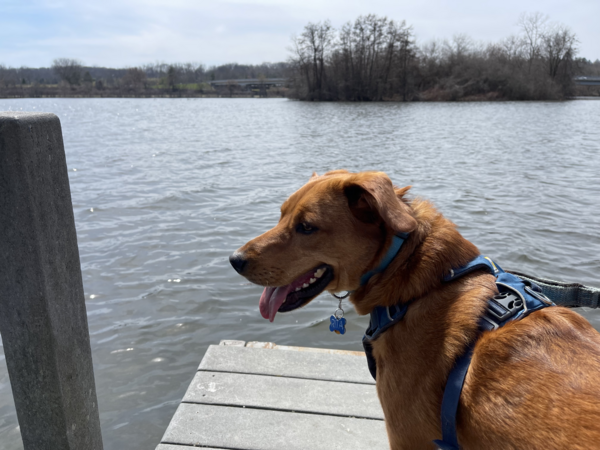
>>> rita = middimage.open("rita_water.png")
>>> duotone(rita, "#c71800", "#bdf8ff").show()
Should display the following version of the photo: 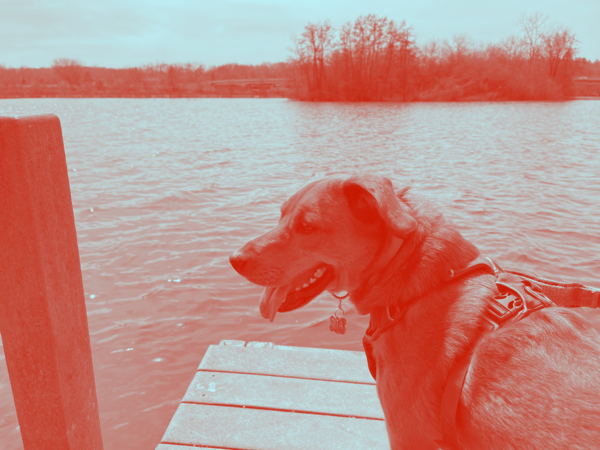
>>> rita = middimage.open("rita_water.png")
>>> duotone(rita, "#bdf8ff", "#c71800").show()
Should display the following image: 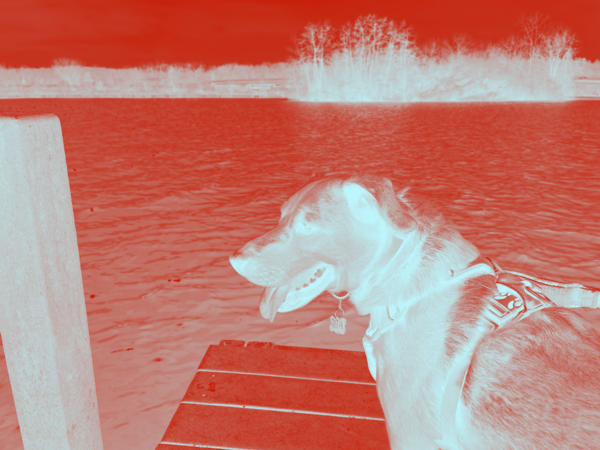
>>> rita = middimage.open("rita_water.png")
>>> duotone(rita, "#e84adb", "#e4ff33").show()
Should display the following image: 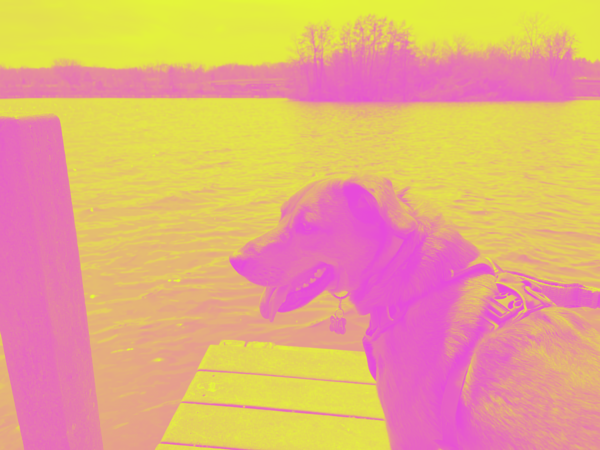
>>> rita = middimage.open("rita_water.png")
>>> duotone(rita, "#000000", "#FFFFFF").show()
Should display the following image: 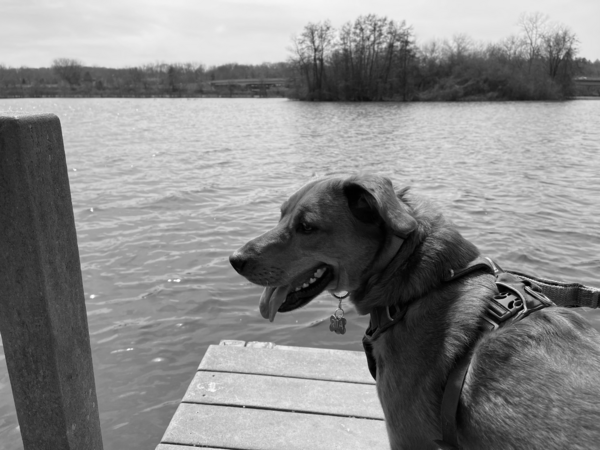
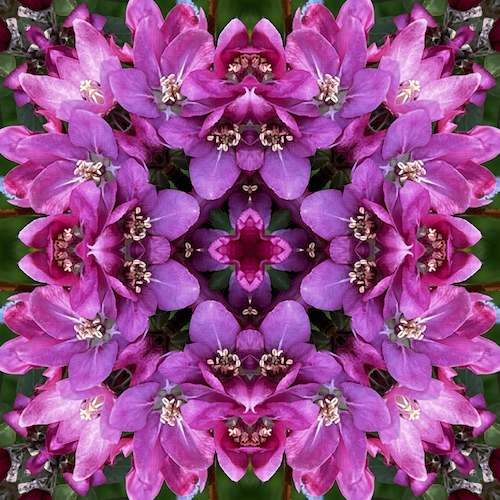
Problem 3: Kaleidoscope
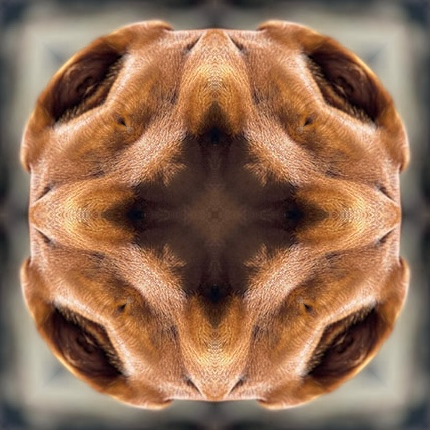
Write a function called kaleidoscope which takes in an image (img) and returns a new image that is a kaleidoscope version of the image.
For a “Satisfactory” solution, you can assume that the input image is square and has even dimensions. An “Excellent” solution will be able to handle any image, making the largest possible square out of the upper left corner.
There are a lot of different ways to think about kaleidoscopes (and to make them). We are going to think about the problem as a series of reflections. To make the explanation more concrete, we will embed the example in the explanation this time.
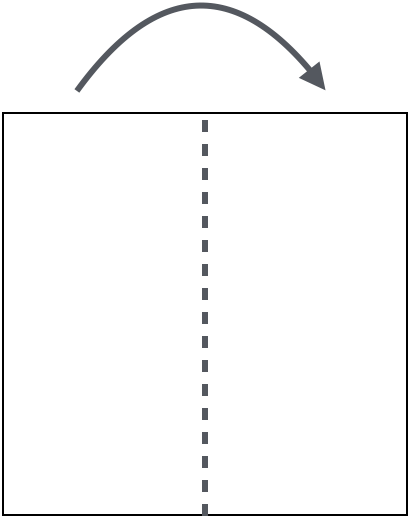
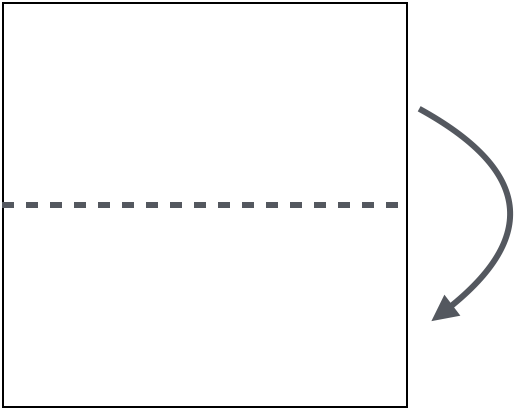
![]()
The first reflection reflects the left side onto the right
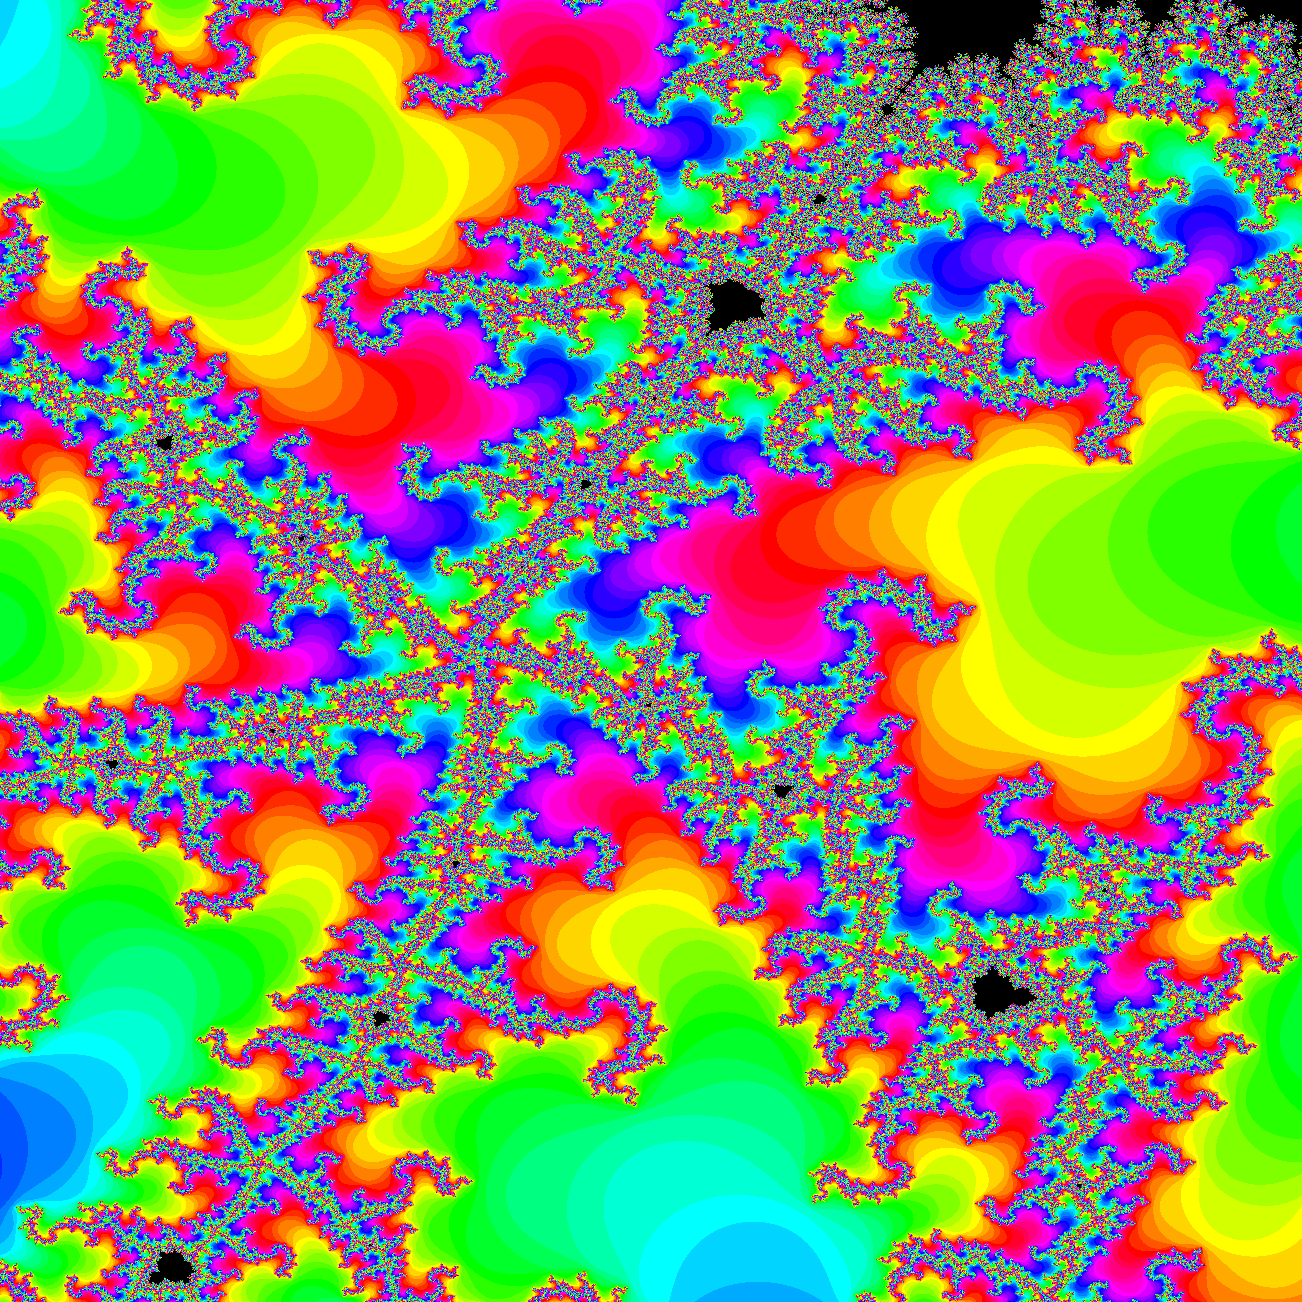
![]()
The second reflection reflects the top of the image onto the bottom.
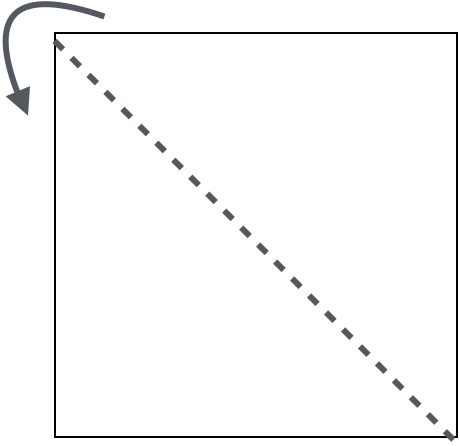
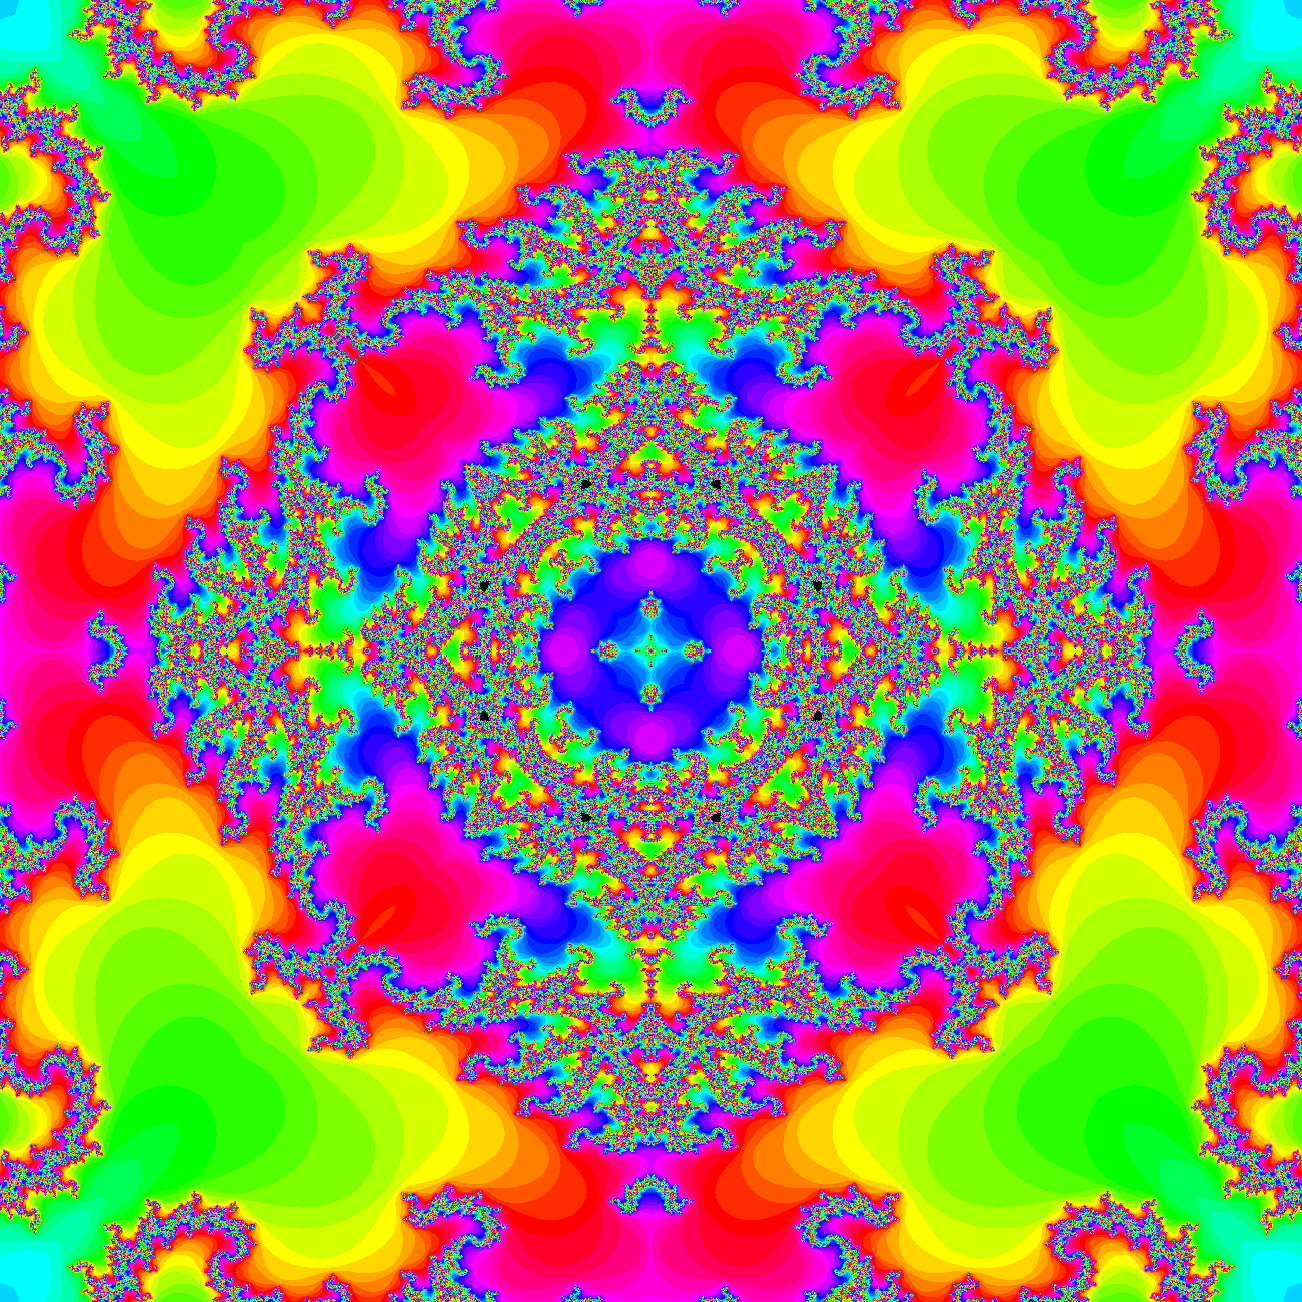
![]()
The third reflection reflects across the diagonal, reflecting the top right on to the bottom left.
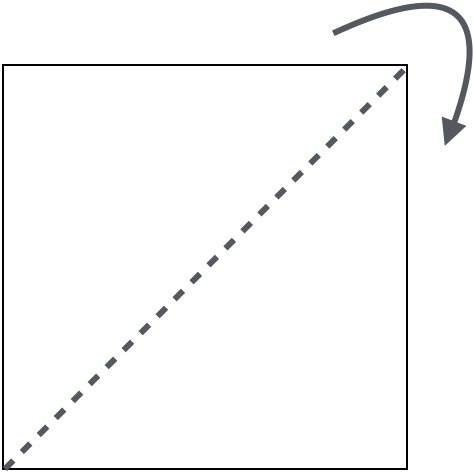
![]()
The fourth reflection reflects across the right to left diagonal, reflecting the top left on to the bottom right.
![]()
Note that there are a lot of different choices that we could have made in terms of the ordering and the direction of the reflection. This particular set of choices was made assuming the the point of interest of the original image would be roughly centered left to right and between the middle and the top vertically. Your solution should follow the same sequence to make it easier for us to check your solution.
kaleidoscope
|
|||
|---|---|---|---|
| Parameters |
|
||
| Return type | middimage.Image | ||
Examples
Problem 4: Radial Gradient
Write a function called radial_gradient that takes in an length, inner_color and outer_color as input and returns a new square MiddImage with width and height length that displays a color gradient. The colors will be specified as tuples of RGB values.
The center of your image should be inner_color and the corners (e.g., point (0, 0), point (img.width - 1, img.height - 1), etc.) should all be outer_color. The gradient should smoothly transition from the center to the corners in the shape of a circle.
For this problem, you may find it useful to remember that the distance between two points \((x_1, y_1)\) and \((x_2, y_2)\) is defined as \[\sqrt{(x_2 - x_1)^2 + (y_2 - y_1)^2}\].
You can assume that the length is at least 3.
gradient
|
|||||||
|---|---|---|---|---|---|---|---|
| Parameters |
|
||||||
| Return type |
middimage.Image
|
||||||
Examples
>>> radial_gradient(250, (13, 57, 95), (255, 255, 255)).show()Should display the following 250x250 image: 
>>> radial_gradient(500, (232, 74, 220), (227, 255, 51)).show()Should display the following 500x500 image: