Setting up for CSCI 201
Goals:
- Create a Github account
- Install VS Code with AI features disabled.
- Install
git. - Install
Javaand some useful tools. - Test your setup by compiling a
Javaprogram.
Please follow the steps below to get set up and organized for the work we will do in CS 201. These steps only need to be done once.
Create a Github Account
I’ll use a website called github to distribute course materials. Knowledge of git and github are not required to access the materials – I will cover everything you need to know.1
If you do not already have a github account, create one now at github.com/signup. You’ll be asked for your account information to log in when you download VS Code.
Install VS Code
We’ll use a popular tool called VS Code to write the text of our programs. Please download VS Code using the link below:
https://code.visualstudio.com/Download
Use one of the large buttons directly below the operating system icons to download VS Code for your system. Open the installer and then follow the instructions. If you are on a mac, make sure that the application is in your Applications directory.
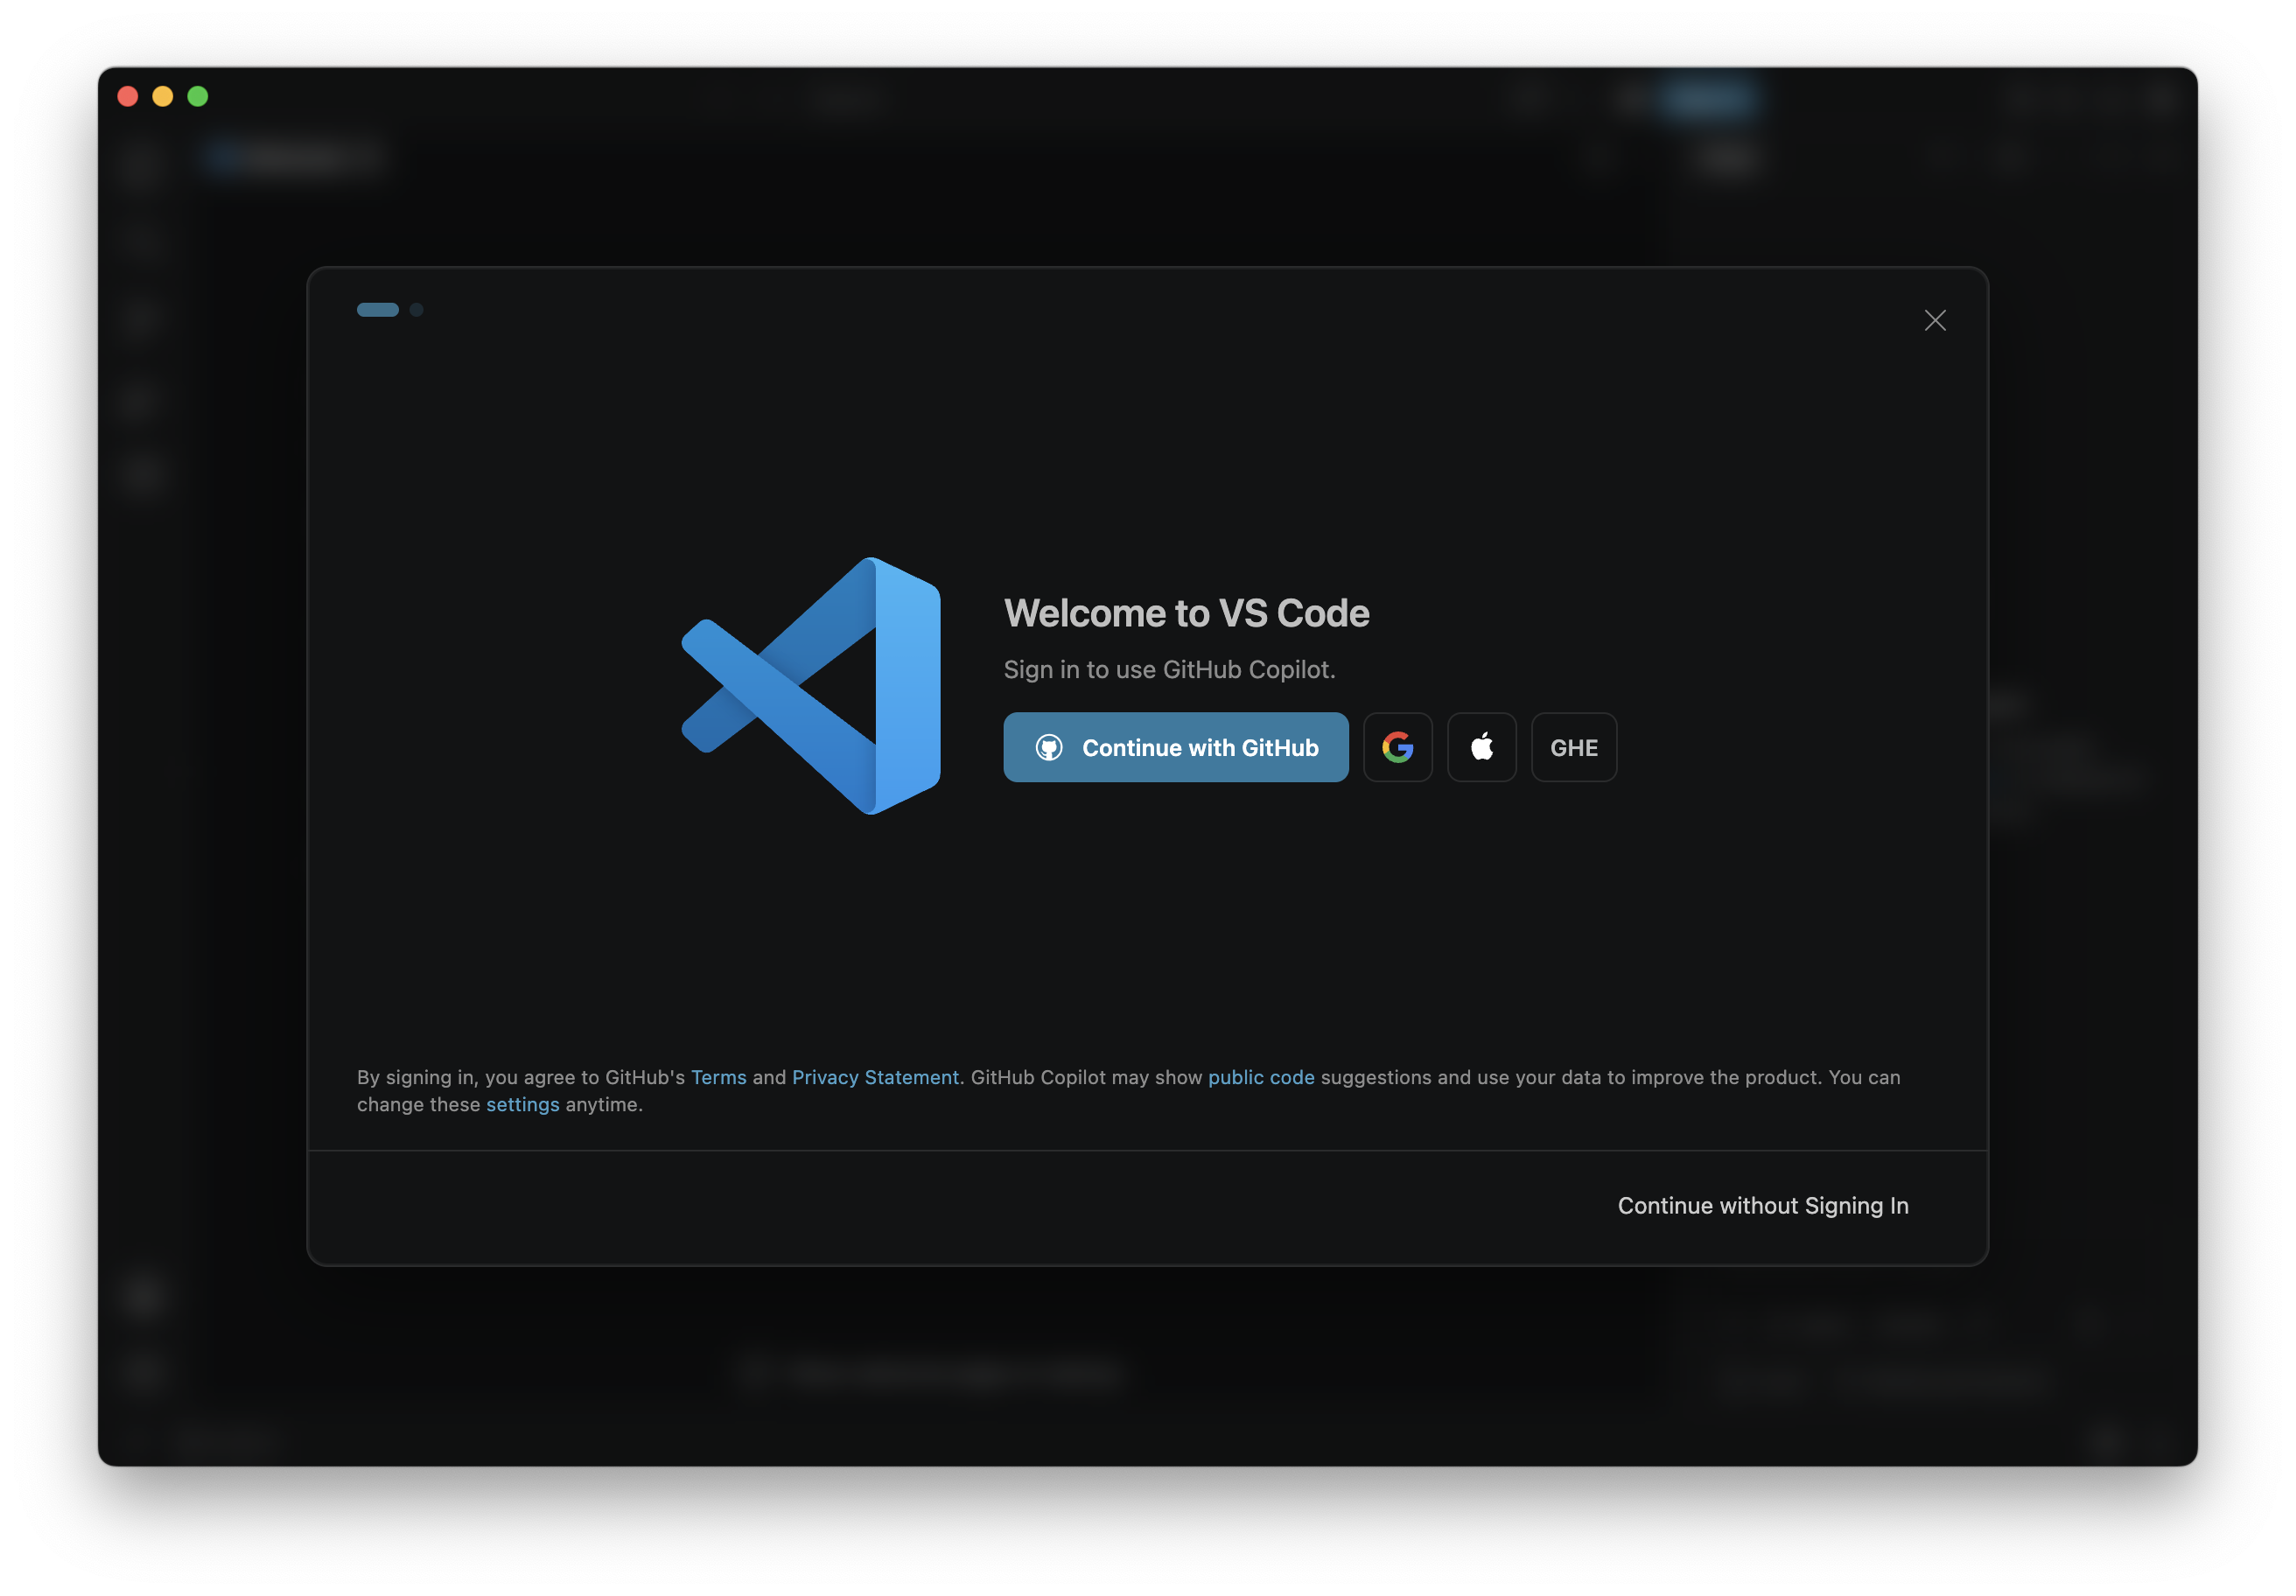
You will be asked to sign in to your GitHub account. Click the link and follow the instructions to sign in.
Turn Off AI features
VS code has built in tools that will use AI to write code for you. As the learning goals of this class involve developing your ability to write your own Java programs, you should turn these tools off in VS Code. Here’s what you need to do to turn off AI tools once you’ve opened up VS Code:
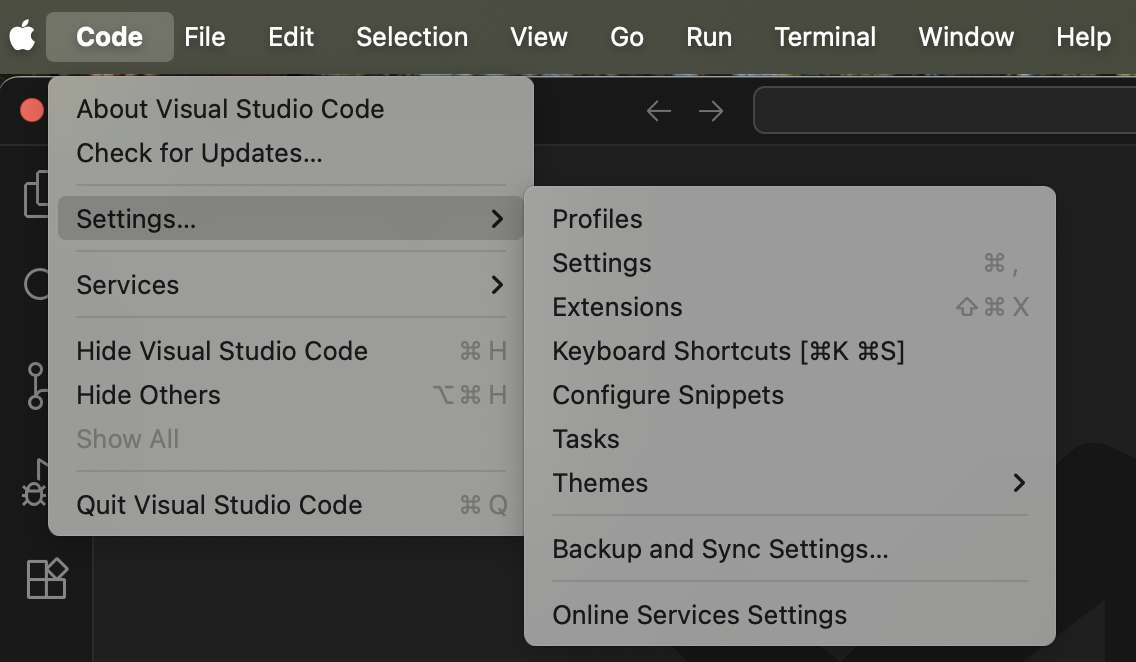
Navigate to your settings. One way to do this is by clicking Code > Preferences > Settings (mac) or File > Preferences > Settings (windows).
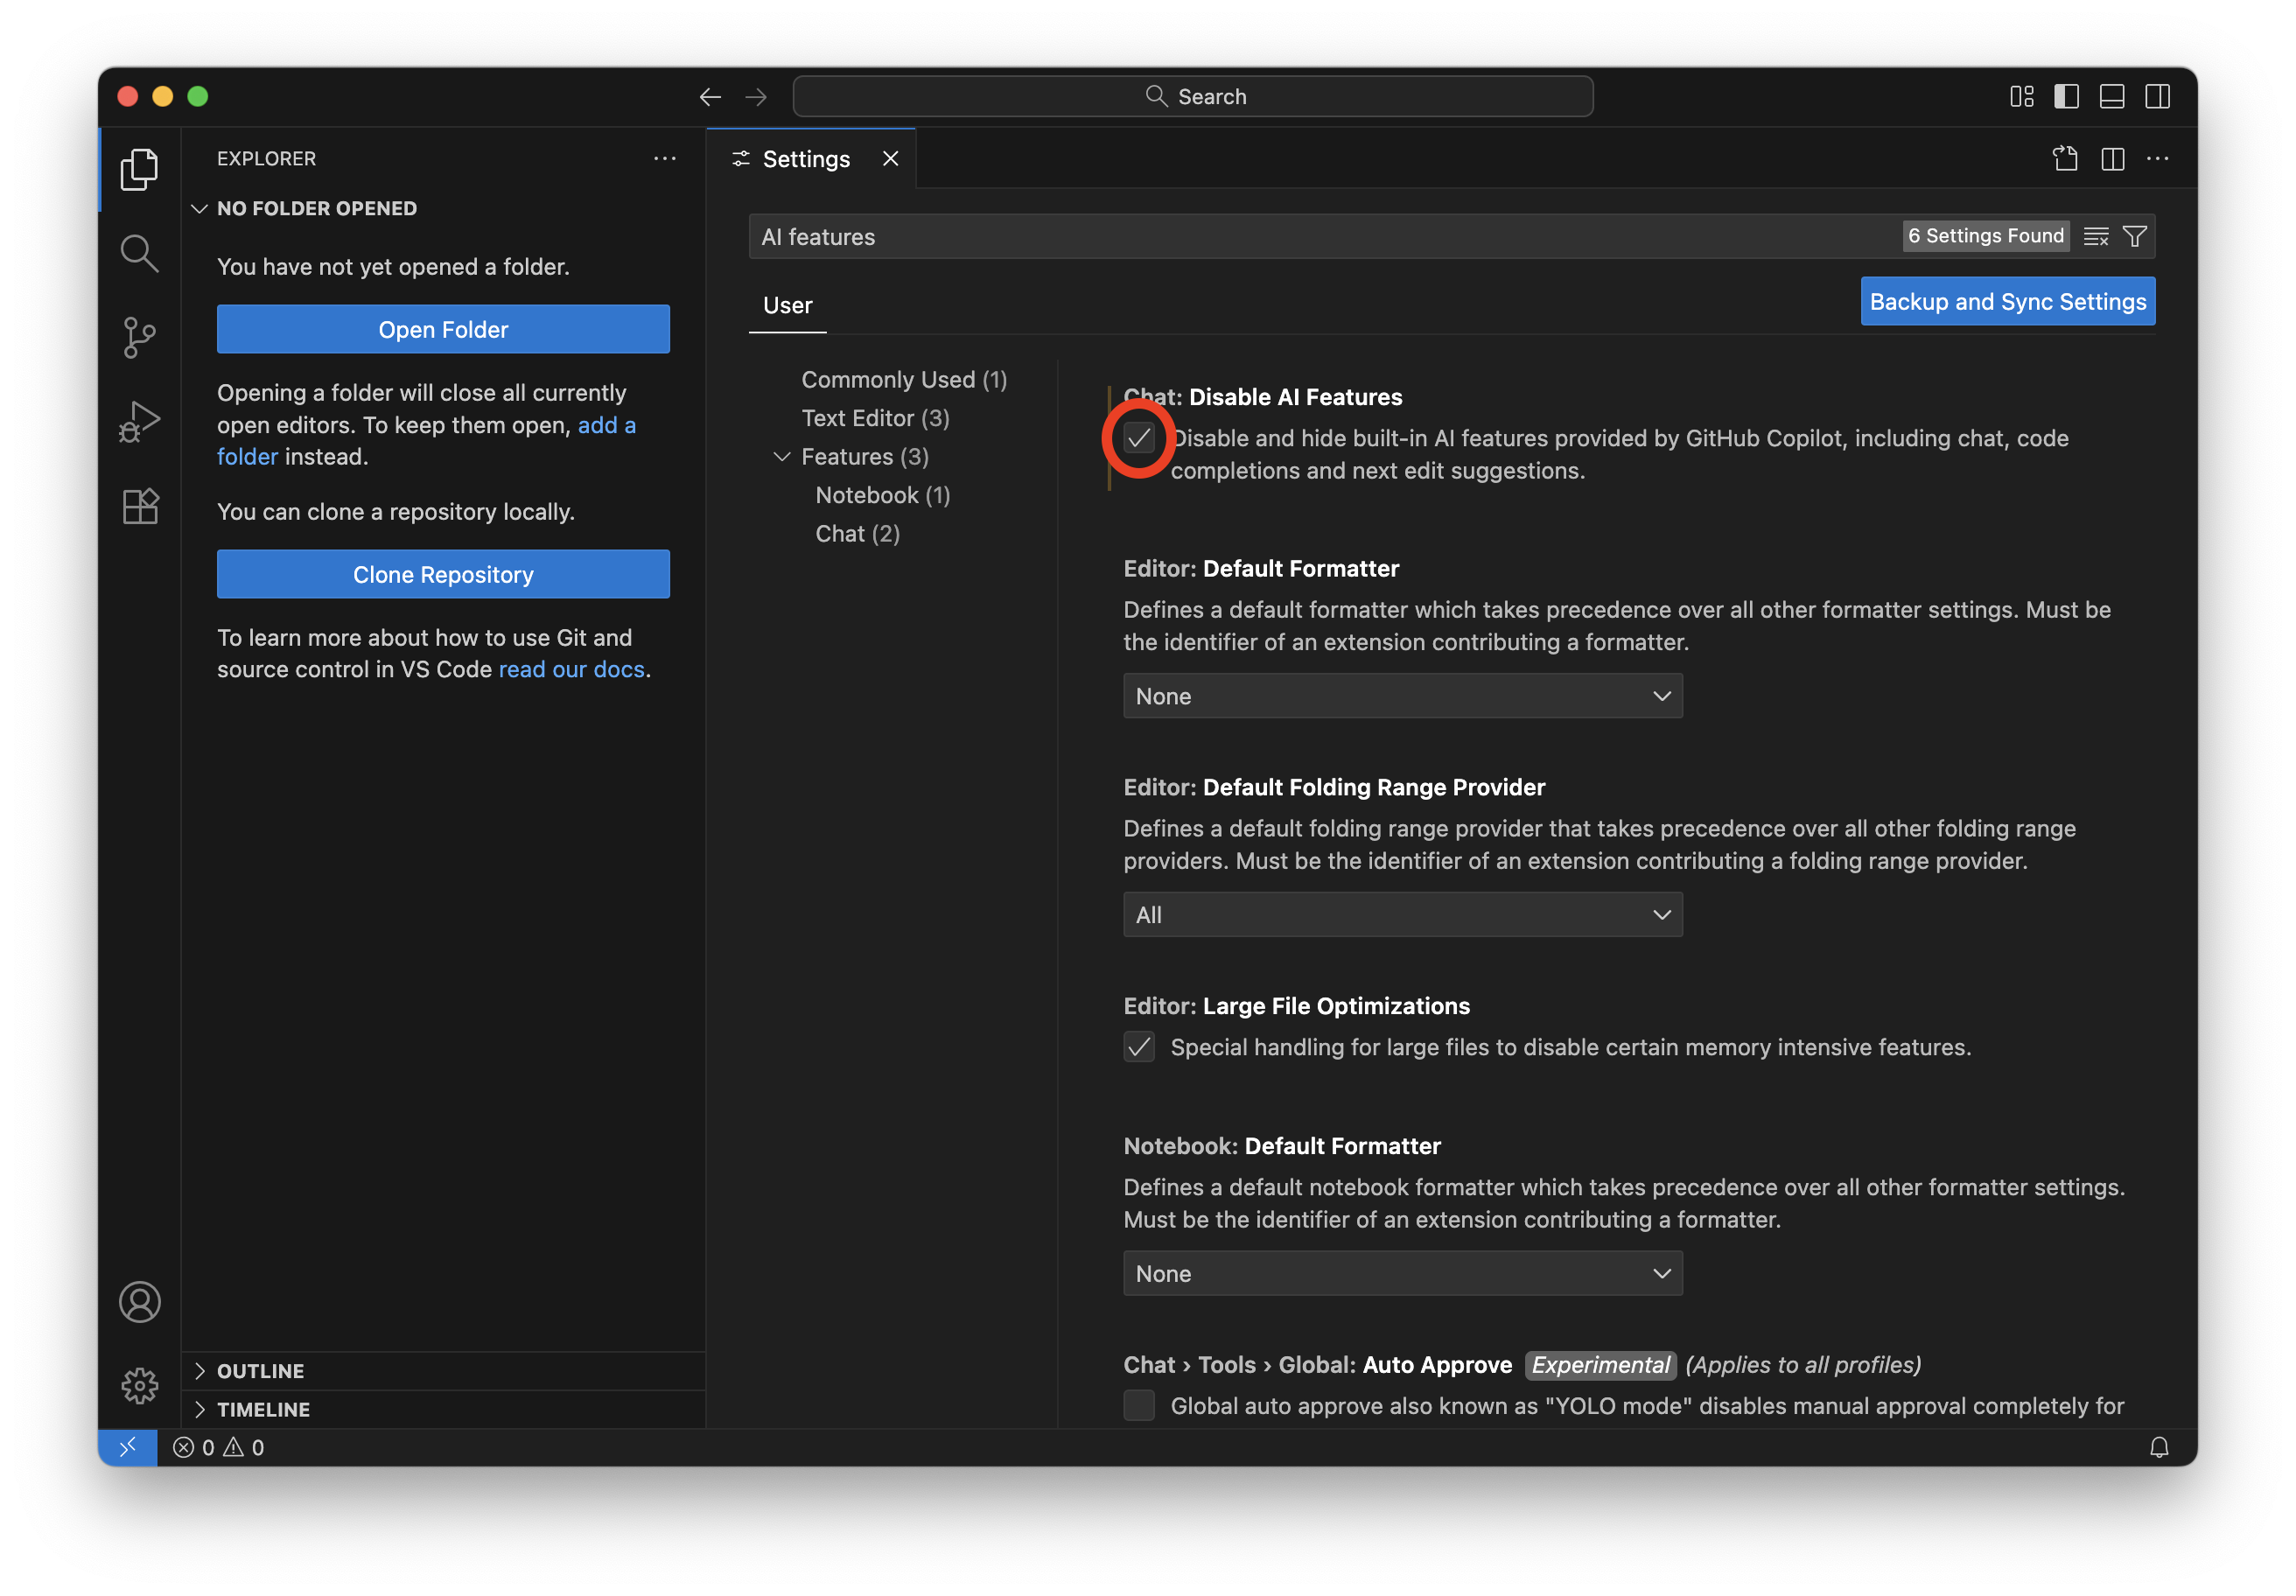
Once you open the settings, enter “AI Features” in the settings search box. You’ll see “Chat: Disable AI Features”. Make sure the box is checked as demonstrated below:
Install git
We are not going to learn much about git in this course, but I will use it to easily share files like slides and starter code with you! For now, just install git.
Mac
To install git on your mac, you will install the Xcode command line tools. First, open a terminal window in VS code. In the menu at the top of your screen, you will see Terminal. Click Terminal, then New Terminal. Once your terminal is open, copy-paste the following command and hit return on your keyboard to continue
xcode-select --installIt might take a few minutes to install – be patient!
Windows
To install git on your windows computer, you will use Git for Windows. Please click one of the following links to install the appropriate version for your system: 32-bit, 64-bit.
Double-click on the downloaded installer and follow the instructions. This will also install Git Bash which we’ll use within VS Code.
Install the Coding Pack for Java
Please visit this page and find the button that says Install the Coding Pack for Java:
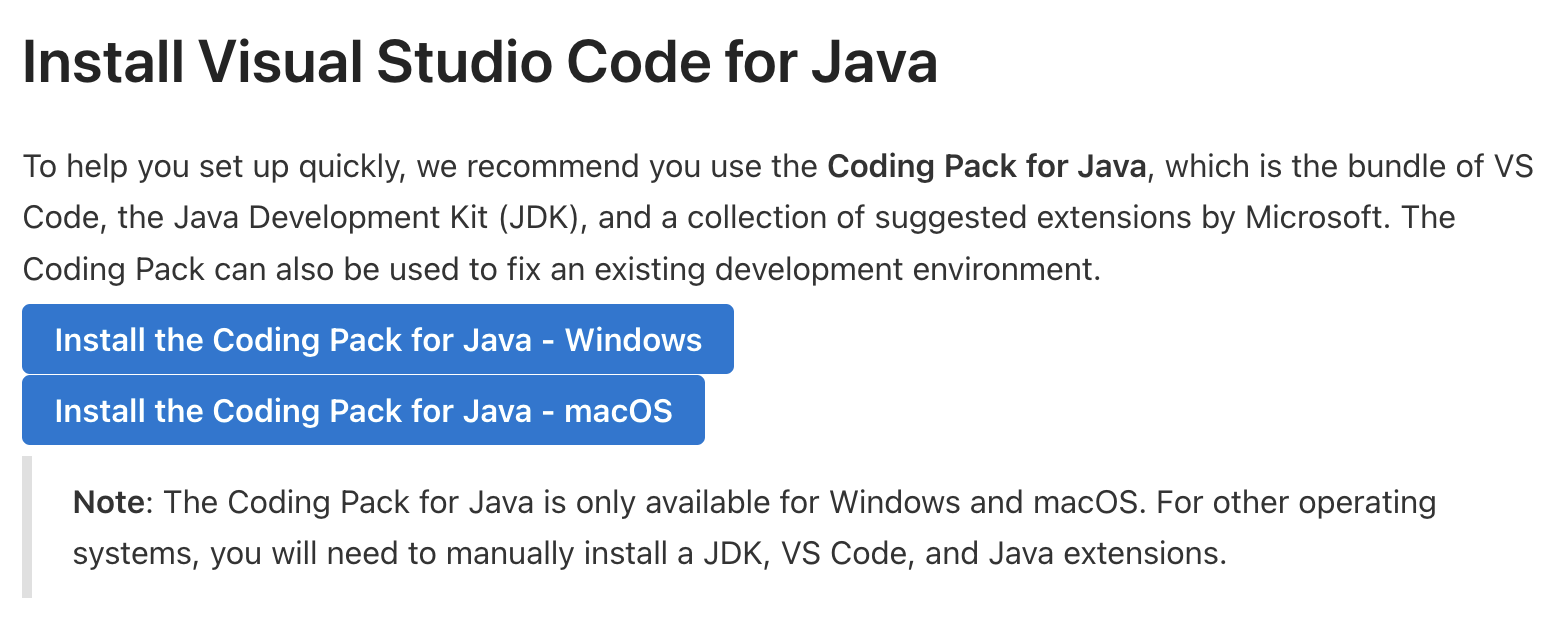
Click on the button for your operating system and then, once the download finishes, open it to install the coding pack. Once you’re done, open VS Code. You may be prompted to install JDK. If you are, follow the instructions!
Install a few extensions
In the left toolbar of VS Code, you should see a handful of icons, one of which looks like a few blocks (kind of like the Tetris game).

Clicking this will open up the Extensions interface, which will allow you to install a few useful extensions.
Install the Debugger for Java
In the search bar of the Extensions interface, type “Debugger for Java”. Click Install on the first search result:
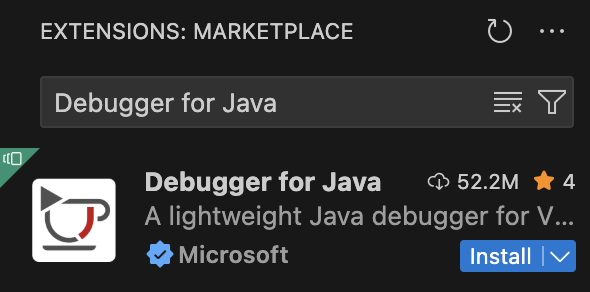
If it has already been installed, ignore this instruction! The same goes for other extensions.
Install the Live Share extension
In the search bar of the Extensions interface, type “Live Share”. Click Install on the first search result:
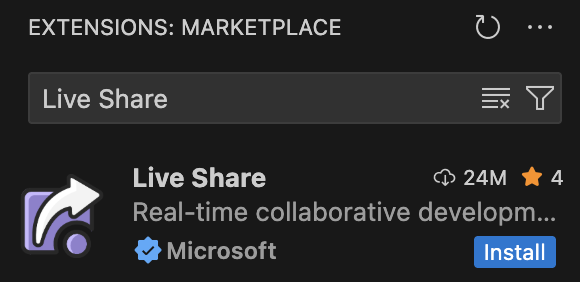
Install the vscode-pdf extension
In the search bar of the Extensions interface, type “vscode-pdf”. Click Install on the first search result:
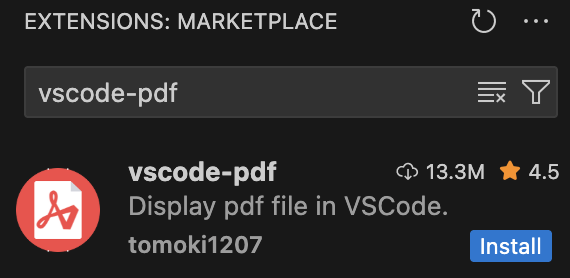
This will allow you to view slides in vscode without opening up another program.
Our first Java program!
Now that we have VS Code and the Coding pack for Java installed, let’s run our first Java program! To practice using git, you will get the program by cloning a repository.
Open up the Explorer interface. The icon looks like two pieces of stacked paper.

You should see an option to Clone Repository. Click that button, then copy the URL for the setup repository: https://github.com/csci201f26/setup.git.
Select the location where you want to store the repository (I suggest your Desktop or Documents folders if you don’t have somewhere else you’d prefer). Select “yes” on any menus that pop up.
You should now see HelloWorld.java in your Explorer interface.
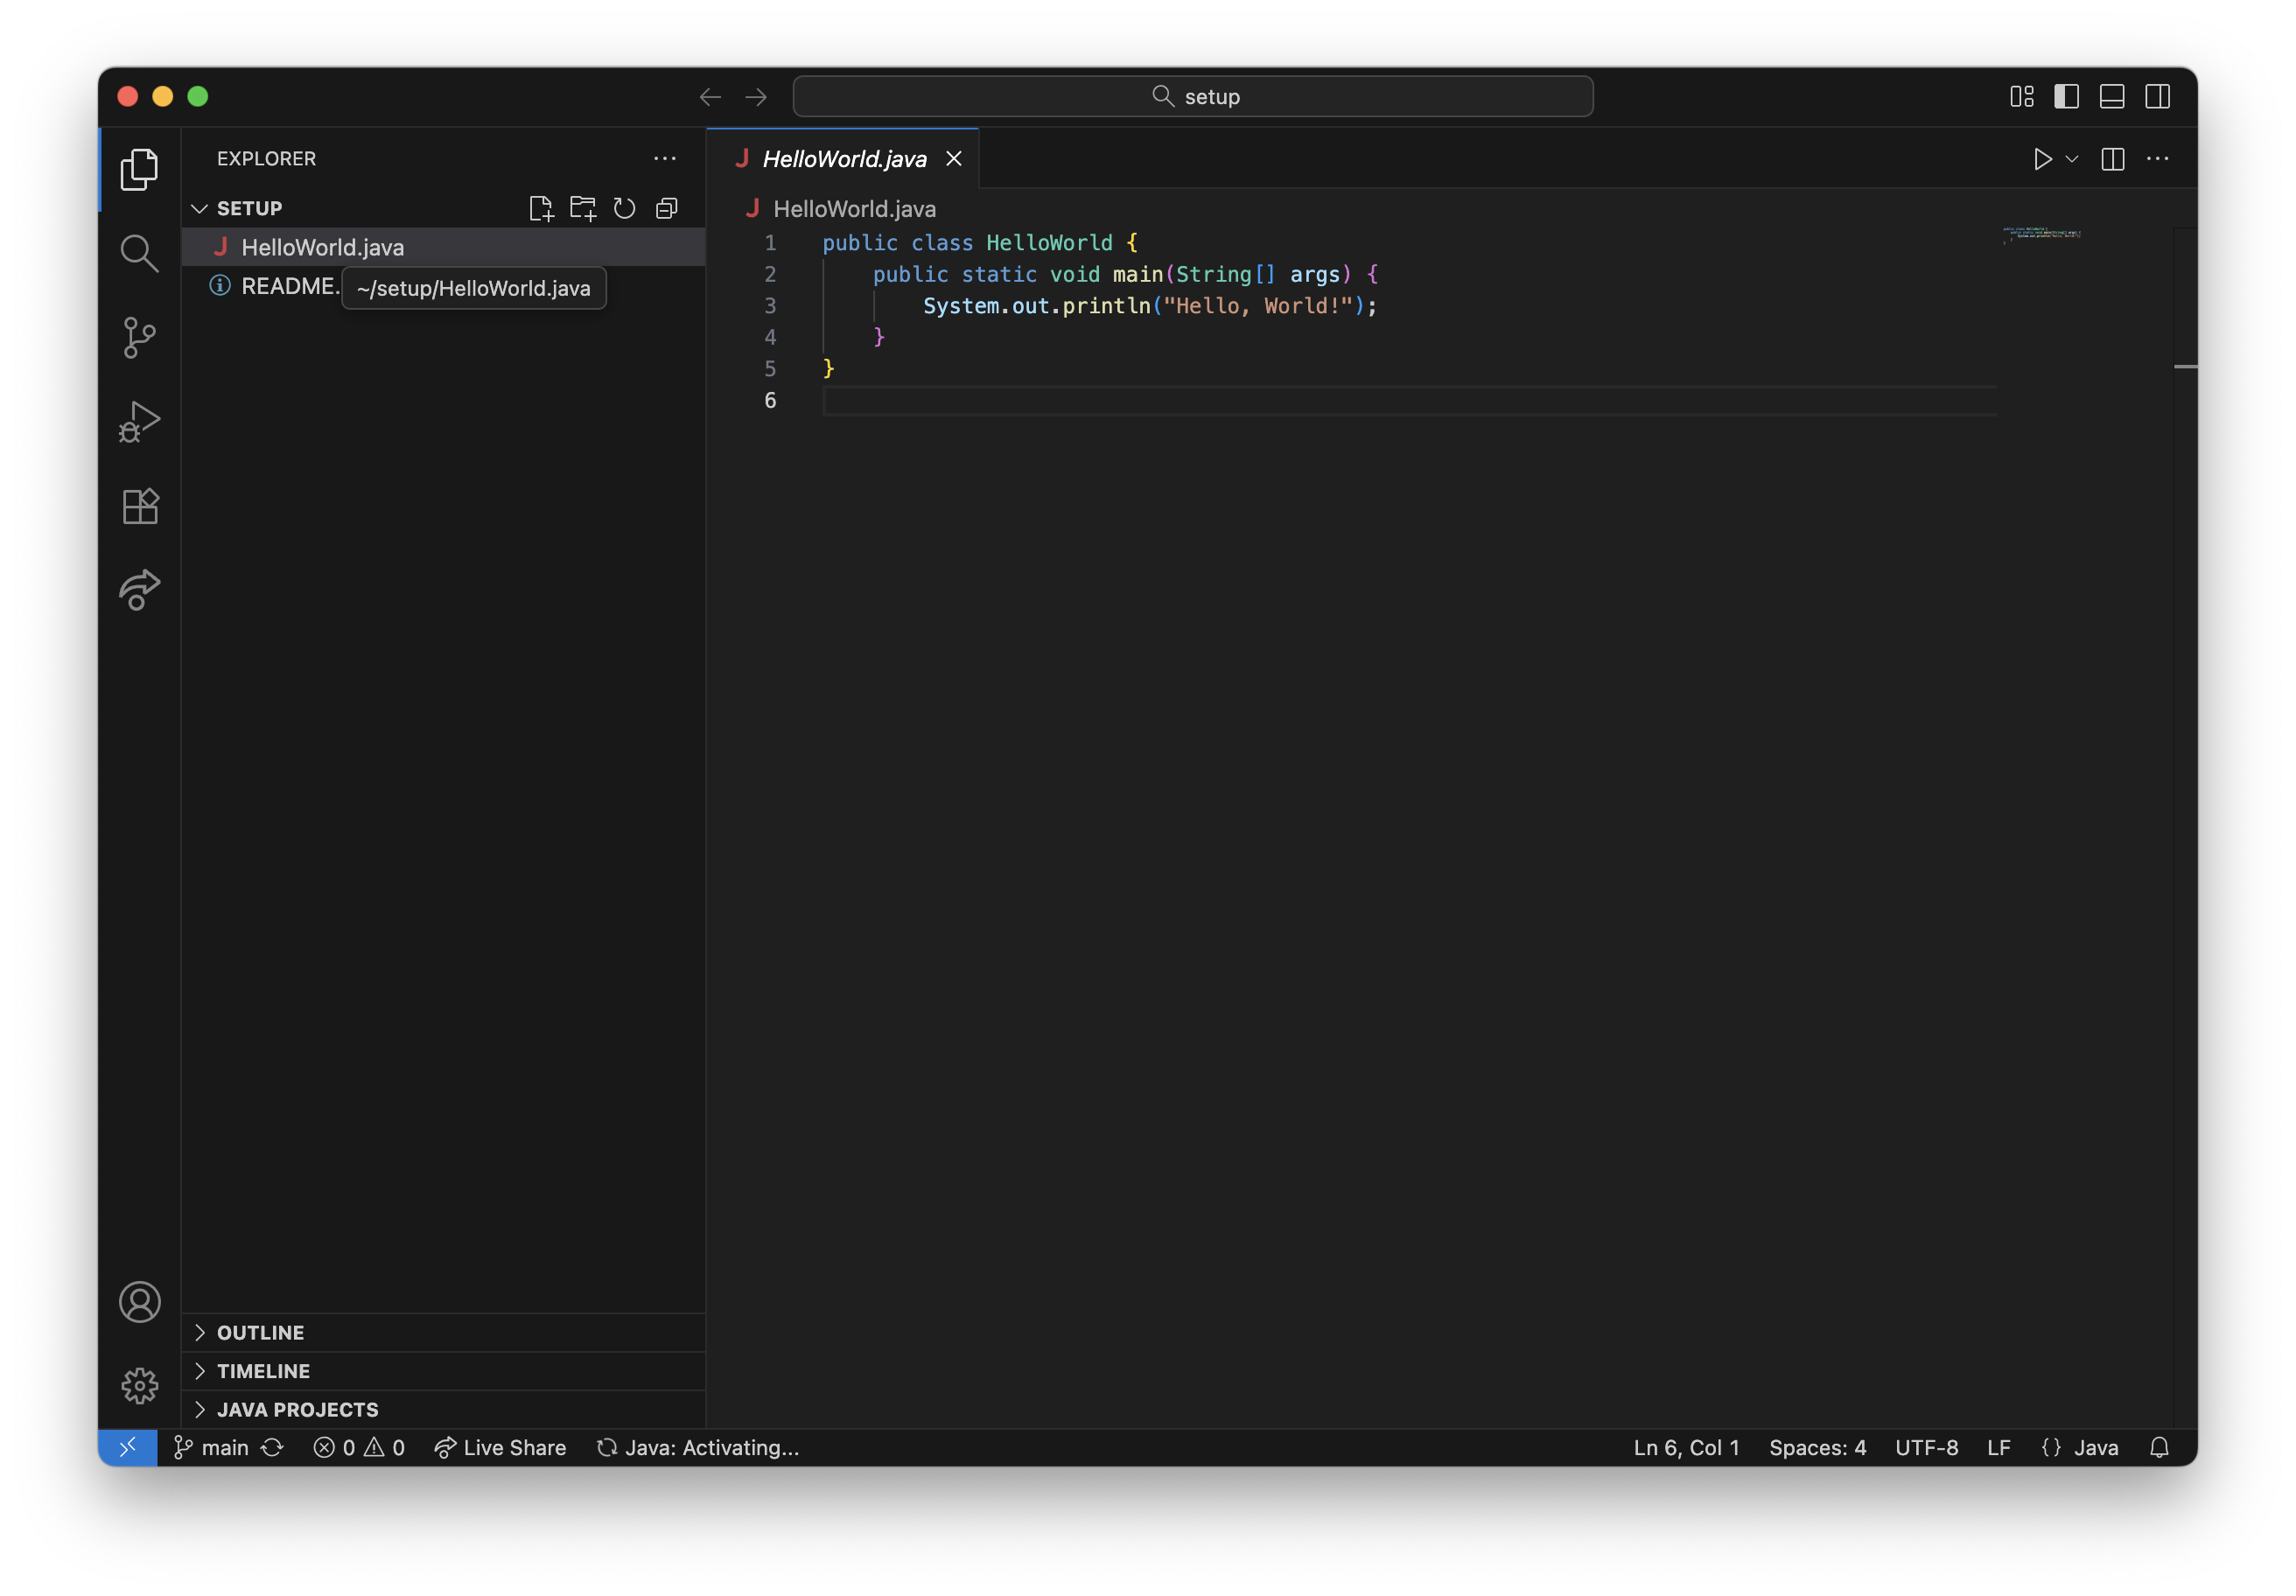
At the top right of the VS Code editor, you should see a button that looks like a Play button.
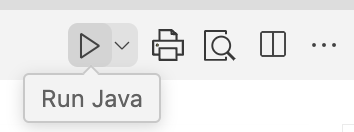
Click this! A terminal should open up somewhere in VS Code and the command that was used to compile and run your program will be displayed. You should also see the Hello, World! message.
There are other ways to compile and run your programs, but we’ll talk about that soon.
Footnotes
If you continue programming beyond this class, you’ll find git to be an invaluable tool, and I’m happy to talk about it more 1-1 if you’d like!↩︎